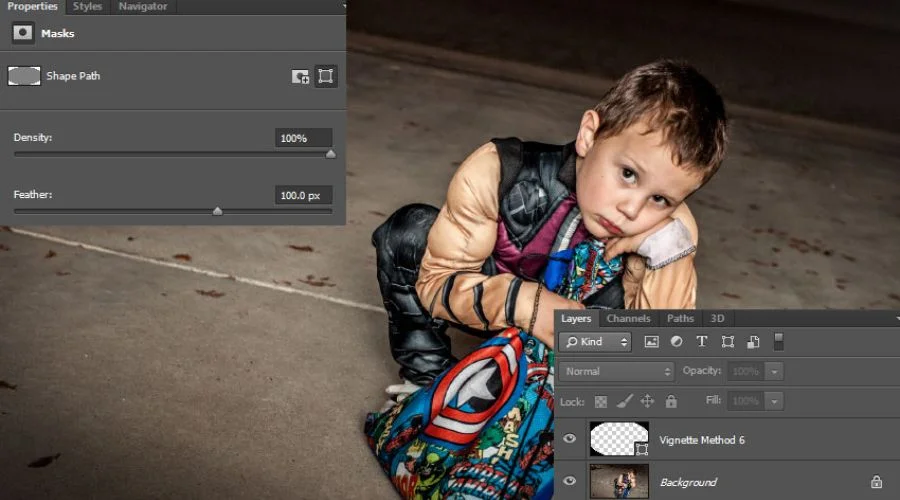
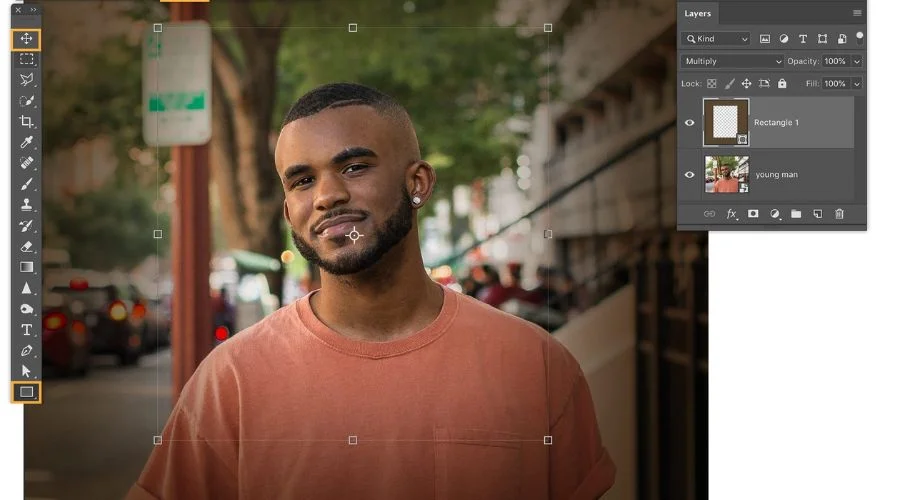
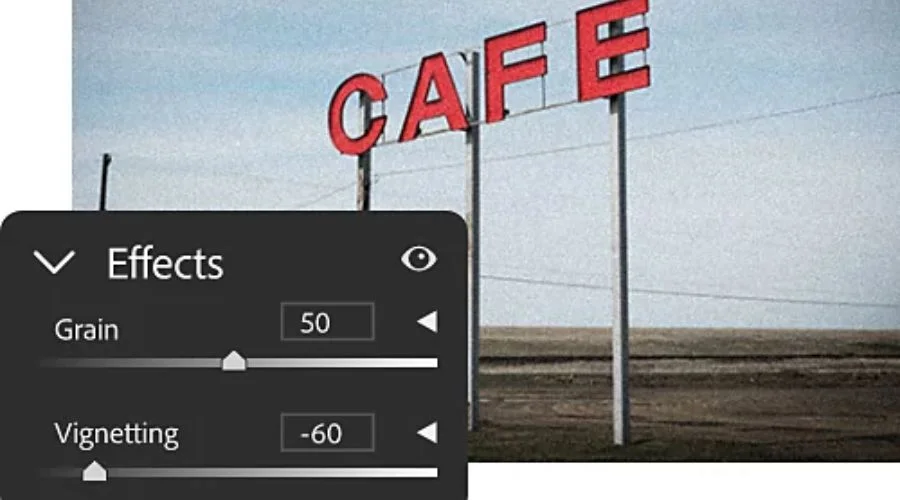
Photoshop Vignette is a popular technique used by photographers, graphic designers, and visual artists to add a dramatic touch to their images. It involves darkening the edges of an image to create a subtle or intense vignette effect. The Photoshop Vignette effect can add depth and focus to an image, draw the viewer’s attention to the subject, and create a cinematic or vintage feel.
Benefits of using Photoshop Vignette

Photoshop Vignette Effect is a powerful tool that can be used to enhance the appearance of images. A vignette effect is a gradual darkening or lightening of the edges of an image, which draws the viewer’s attention to the centre of the image. It can be applied to both digital and traditional photographs and is a popular technique used by photographers and graphic designers.
Enhance Focus and Depth
One of the main benefits of using the Photoshop vignetting effect is that it can enhance the focus and depth of an image. By darkening the edges of the image, the viewer’s attention is drawn towards the centre of the image, which can help to highlight the subject or focal point. This technique can be particularly effective for portrait photography, where the subject’s face is the main point of interest.
Create Mood and Emotion
Another benefit of using the Photoshop Vignette Effect is that it can be used to create mood and emotion in an image. By darkening the edges of an image, a sense of drama or mystery can be added, which can help to convey a particular mood or emotion. For example, a vignette in Photoshop can be used to create a vintage or retro feel in an image or to add a sense of sadness or melancholy.
Control Brightness and Contrast
The Photoshop Vignette Effect can also be used to control the brightness and contrast of an image. By darkening the edges of the image, the overall brightness can be reduced, which can help to create a more balanced image. Additionally, by lightening the edges of the image, the contrast can be increased, which can help to make the subject stand out more.
Add Creativity to Images
Using the Photoshop Vignette Effect can also add creativity to an image. By experimenting with different levels of darkening or lightening, different shapes and sizes of vignettes, and different colours, a unique and creative image can be created. This technique can be particularly useful for graphic designers who want to create visually striking images.
Easy to Apply and Control
Finally, another benefit of using the Photoshop Vignette Effect is that it is easy to apply and control. With just a few clicks, the effect can be added to an image, and the size and shape of the vignette can be adjusted to suit the image. Additionally, the intensity of the effect can be easily controlled, allowing for a subtle or dramatic effect depending on the desired outcome.
Creating the Photoshop Vignette effect

There are several ways to create the Photoshop Vignette effect, and each method can produce a different level of intensity and style. Here are some of the most common techniques:
Method 1: Radial Gradient
The Radial Gradient method involves using the Gradient Tool to create a circular or oval-shaped gradient that fades from black to transparent. Here are the measures to take when using this approach:
- Open your image in Photoshop.
- Start with a blank layer and the Gradient Tool.
- Choose the Radial Gradient option and set the foreground colour to black and the background colour to transparent.
- Click and drag the Gradient Tool from the centre of the image to the edges.
- Adjust the opacity and feathering of the layer to fine-tune the effect.
Method 2: Lens Correction
The Lens Correction method involves using the Lens Correction filter to apply a vignette effect based on the lens distortion of your image. This method is particularly useful for correcting the natural vignetting that occurs with some lenses. Here’s what you need to do to put this technique to use:
- Open your image in Photoshop.
- Go to Filter > Lens Correction.
- Click on the Custom tab and adjust the Vignette settings.
- Fine-tune the effect using the Amount, Midpoint, and Roundness sliders.
Method 3: Dodge and Burn
The Dodge and Burn method involves manually darkening the edges of the image using the Dodge and Burn tools. This method offers more control over the intensity and shape of the vignette effect. This procedure entails the subsequent actions:
- Open your image in Photoshop.
- Create a new layer and select the Burn Tool.
- Set the Range to Shadows and the Exposure to a low value (e.g., 10%).
- Click and drag the Burn Tool around the edges of the image to darken them.
- Create another new layer and repeat the process using the Dodge Tool to lighten the centre of the image.
- Adjust the opacity and feathering of the layers to fine-tune the effect.
Conclusion
The Adobe Photoshop Vignette effect is a powerful tool that can be used to enhance the appearance of images. It can be used to enhance focus and depth, create mood and emotion, control brightness and contrast, add creativity to images, and is easy to apply and control. Whether you are a professional photographer or a graphic designer, the Photoshop Vignette Effect can help to create visually striking images. For more information, visit Savewithnerds.
FAQs


